
Your cart (0)
Your cart is empty
Tax included and shipping calculated at checkout
Your cart is empty
Tax included and shipping calculated at checkout

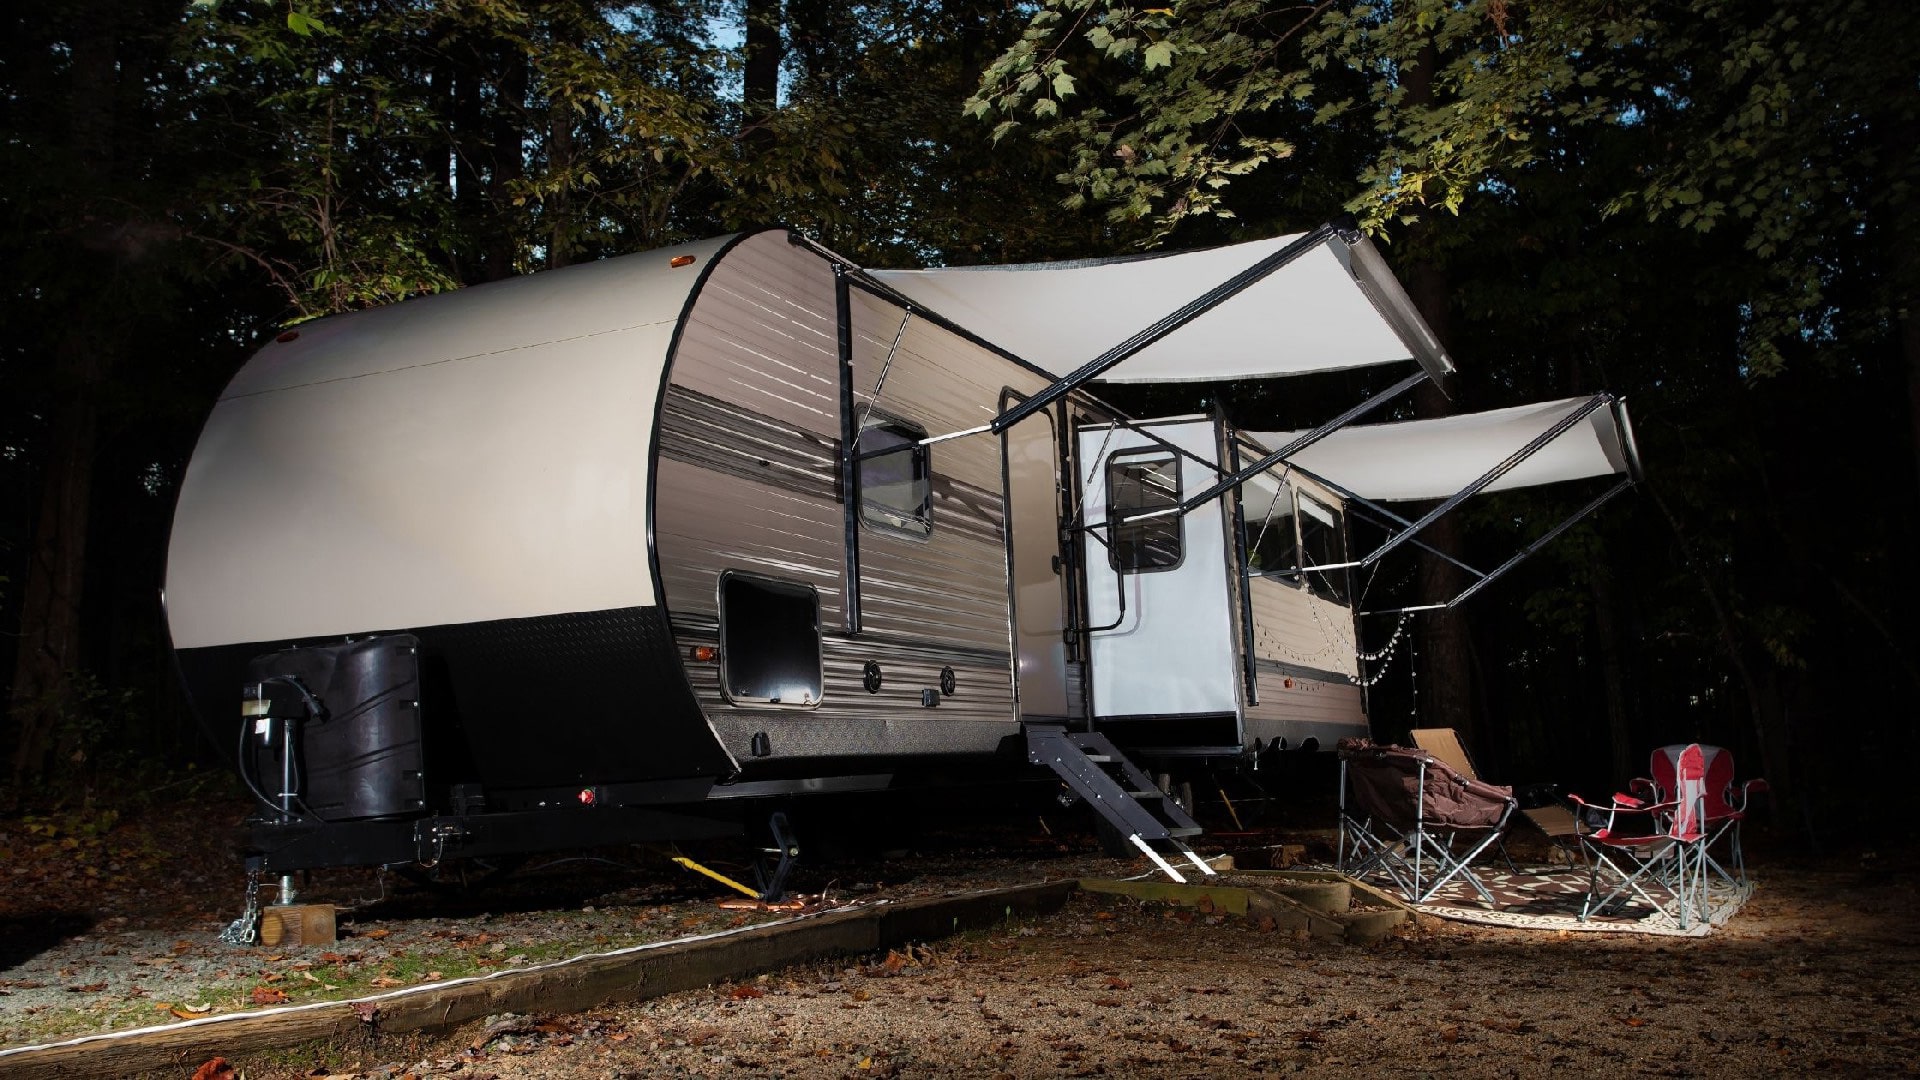
Are you clueless when it comes to leveling a travel trailer? If yes, then this article is for you. There’s zero shame in admitting you aren’t knowledgeable about something; it’s even more iconic wanting to learn, and that’s exactly what our guide is for.
Imagine traveling with friends, and when you make a stop or get to your destination, you need to properly level your travel trailer; what then? So you see, this guide isn’t only for your benefit, but to help your friend, your husband or partner. If you intend to use your RV for camping, ensure that you have everything you’ll need, including your RV gear and a pack of setup necessities.
Your travel trailer cannot function properly if it isn’t leveled. Yes, some locations come with a perfectly level ground, but many recreational locations don’t, and of course, you’ll need to level your trailer, or you’ll miss out on a lot of fun. Many things could go wrong if you leave your travel trailer unleveled for a long period, probably overnight. Let’s discuss a few;
To make sure that the fluids in your travel trailer remain intact, you must level your travel trailer. If your trailer isn’t leveled, it can affect the freon cooling system of your refrigerator and cause the coolant to pool to one side. If you don’t adjust your trailer and restore its balance, it could ultimately lead to a total breakdown of your fridge, and this single negligence will cost you a lot of bucks in repair.
For trailers and campers with slide-outs, it’s important that your vehicle is never unleveled for more than an hour. When it’s unleveled, it creates angular pressure that shifts the binds and causes it to lock in place. Unlevel parking will also affect other components of your trailer and cause wear and tear to your trailer eventually.
Most people rely on tank sensors to notify them when to fill the water tank, and if you fall into that category, checking your trailer’s level should be the first thing you do when you arrive at your location. The tank sensors are usually accurate, but when your trailer is unleveled on one side, the sensor could show much or less full than it really is.
Also, when your trailer isn’t leveled, you rob yourself of access to fresh water. You might easily overlook this when you have a full tank, but when it gets small, it may become difficult to fetch water because it has drifted away from the water pump.
You may be comfortable cooking your pancake on one side of the pan, but things rolling off the cabinets because of improper leveling could lead to frustration. Imagine a pan full of boiling oil sliding off onto the floor when you move away? This could cause safety issues, and in the long run, your trailer won’t look so attractive to you anymore.
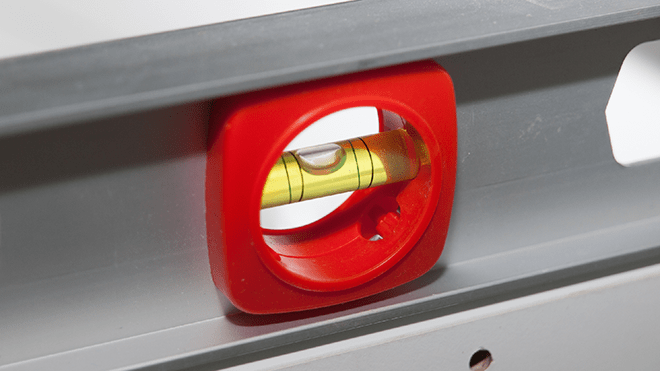
If your trailer is above 1 inch of level or two and a half degrees, it’s unlevel. You can also use a bubble level to know how leveled your trailer is.
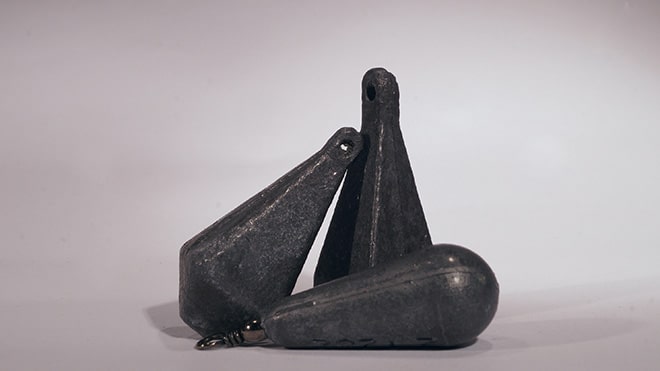
To keep your RV level, you need to get equipped with certain tools. So, keep reading to find out what you’ll need to level your trailer properly;
Leveling blocks
Jacks – Hydraulic jacks, Stabilizer jacks, Manual leveling jacks
Wheel chocks
Tongue jack stand
Graduated bubble levels
Shovel
When you’ve mastered the act of leveling your trailer, it usually makes your travel less stressful. The truth is, you don’t need any professional expertise for these adjustments, go ahead and follow our tips, and in many years to come, you’ll still find this information useful.
When leveling from left to right, you need to find a very flat surface before you proceed. Let’s look at how this method makes leveling a lot easier.
When traveling, ensure your bubble level is always with you. As soon as you are approaching your location, position your trailer to be leveled from left to right. Pulling forward might help stabilize your level left to right. Check the level left to right with the bubble level, and for a more accurate reading, you can place the bubble level on a countertop or the RV floor.
If you notice your RV is still not leveled, get your RV leveling blocks and raise your left tires onto the blocks. You need to carefully analyze your trailer’s position to determine if the left or right tires need to be leveled. From the look of your where your trailer is packed, you can tell if it’ll be easier to pull forward towards the blocks or roll backward onto the blocks.
If you decide to pull forward, place the leveling blocks at the front of the wheel, and vice versa for backward movement. It’s important that you pay attention and check how leveled your trailer is; if it’s still noticeably unleveled, you can add two extra blocks, but if not, one extra block will suffice.
If your trailer is on the same level from left to right, chock the tires so that you don’t lift the blocks; for this process, it’s important you use wheel chocks. Put the wheel chocks on the two ends of the tire as safety chains, so it doesn’t roll forward or backwards.
After you are satisfied with how firmly the wheel chocks are, then you can un-hitch it. And voila, you’ve leveled your travel trailer, plus you can park now without any worries.
If you plan on leveling your travel trailer from front to back, the process is pretty much the same.
Use your bubble level to measure your travel trailer from front to back.
Depending on the type of jack you are using, you can adjust your trailer’s level by lowering your power jack onto the blocks.
If your trailer is stable already, lower your stabilizer, and make sure you create equal support for all of them. You can proceed to extend your slides after you have successfully stabilized your trailer.
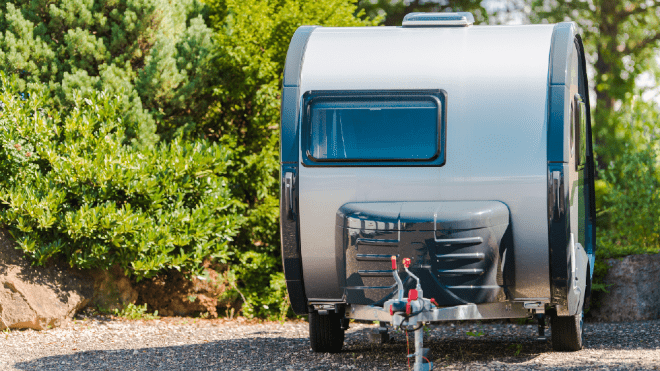
Before detaching your travel trailer from the tow vehicle, you need to make sure it’s stabilized first, but the question is how? Stabilizing happens after you have leveled your trailer to perfection, and it’s only natural that you keep it in place before going to bed. Using only stabilizing jacks to stabilize your trailer or camper can twist and ruin the alignment.
Use a stabilizing jack to create a spot where you can set your trailer; doing this will give you the required extra space off the ground to work better. Put your chock blocks and stabilizing jack pads at the back of the wheels to avoid them from moving.
You can decide to manually level your RV, and it’s best to do this when a towing vehicle is connected to it.
Start from the front side of the trailer and stabilize it by using the hand crank to insert itself into the stabilizing jack. Fully crank the jack to the ground to get a bit of resistance and repeat the process for each side. Alternatively, if the jack doesn’t get all the way to the ground, make use of levelers to solve the height difference.
Never over-extend the jack, or it makes it useless. Once you are sure the rig level is balanced, you can enjoy your holiday. Truthfully, the RVing lifestyle is fun as long as you know how to take care of your RV without stress or wasting money.
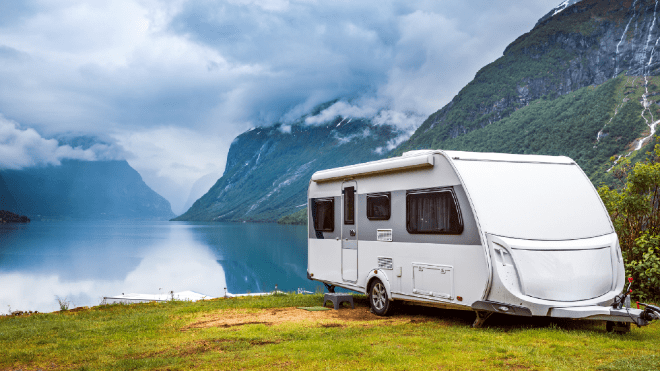
Leveling your RV on a slope can be tricky if you don’t know where to start. You’ll need wood/plastic leveling blocks, wheel chocks, and a 2ft level to make this process easy. You can get a level RV with these few steps;
Find a fairly level area to park
Start by leveling the camper from side to side; preferably, start with the low side
Use a bubble level or carpenter’s level to level the trailer
Place leveling blocks in front of the wheels
Drive the trailer so it rests on top of the leveling blocks
Once leveled, put the wheel chocks on both sides of the camper. Placing it underneath the downhill side of the wheels will keep the camper in place.
Every camper needs a leveling system for the refrigerator to function properly and ensure your guests/family are comfortable.
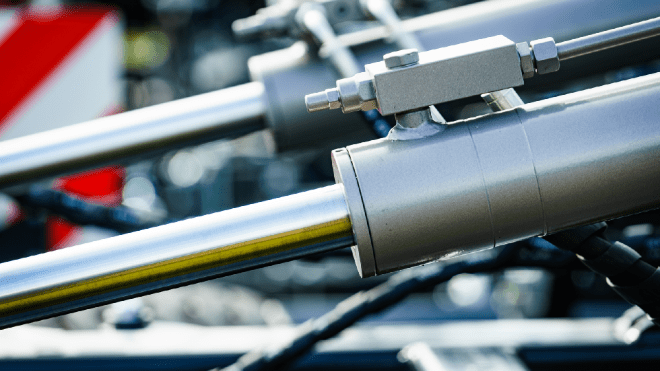
This is the most common type of leveling system for motorhome and towable RVs. If your RV doesn’t have a leveling system, you can easily install one later. It’s usually stronger than an electronic system, and you can control it using the buttons close to the driver’s seat.
If your campsite is overly sloped, a tongue jack, hydraulic jacks, or even stabilizer jacks can’t get the work done; you’ll need to use a leveling block. Every type of leveling block has its advantages and disadvantages: stabilizer pads, jack pads, and stacker blocks.
With RVs that already have auto leveling systems installed, you don’t need to know how to level a trailer before you can use it. To get a level side on your travel trailer, push a button, and you’re good to go.
Yes, they are great for adjusting a trailer, but your bubble level will still be helpful as you need to level your RV before starting.
Most people make the mistake of using stabilizers to level their trailers, and that’s all shades of wrong. We don’t recommend using stabilizers as they can ultimately ruin the frame of your camper. Stabilizers aren’t meant to support the weight of your camper but rather keep it stable when parked, so it can’t be used to level.
Self-leveling jacks, also known as auto jacks, can be installed on your RV. Whether you are using a motorhome or 5th wheel, there’s a high chance that you can finally add a self leveling system to your camper.
There are many auto-leveling jacks on the market; however, you might need to go to a dealer’s shop to help you with the installation after purchase.
Scissors jacks are designed to only prevent your trailer from bouncing, and the unnecessary movement felt inside the RV. It’s not built to support the entire weight of your camper, so you’re only ruining the frame of your RV when you use it to level your camper. Never attempt to carry or lift your RV with scissors jacks because when you put excess pressure on these jacks, it can cause permanent damage.
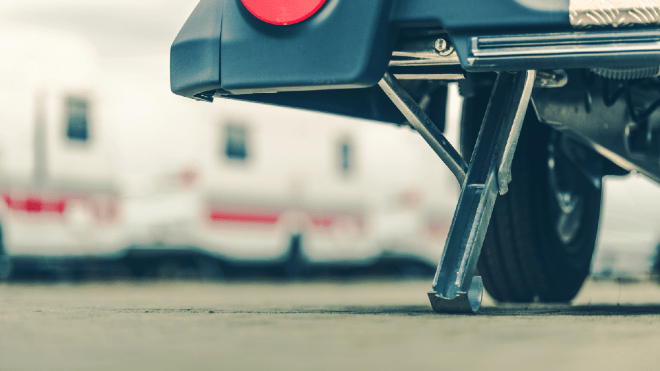
When you know how to level your RV, you’ll understand that it’s not such a difficult task, and with time, you’ll be able to level your RV fast, and it’ll be as easy as plugging a power cord into an electric outlet.
Never leave your slide-outs open while leveling your toy hauler. How unleveled your toy hauler is, is dependent on its size.
Before leveling, attach your toy hauler to a tow vehicle, and be sure that every inch is leveled; you can do this by adding gravel under the tire to raise its height.
Position your leveling blocks in front of the low tires and pull forward until your toy hauler is on top of it, and then you can un-hitch the tow vehicle. Raise or lower the front leveling jack to level the camper; you can put a stack of blocks underneath the jack to keep it raised and avoid sinking into the soil.
Extend the rear stabilizer jacks and chock the tires, and wait until they are set and snug.
Most pop up campers are similar and have the same simple rule when it comes to leveling. You can check out youtube videos for a more explicit pictorial guide on this, plus don’t forget to go through the steps on the owner’s manual.
To make your parking and leveling a bit easier, attach bubble levels horizontally around the box of your pop up camper, but keep it very close to the middle.
When using this process, you can always see the free form of your camper and know whether it’s leveled or not.
Don’t disconnect the tow vehicle from the pop-up camper unless you have created a level on all sides of the camper. Look out for the tire with a low side and adjust the leveling block behind it. Drive your pop up camper onto the block and check the level again. If you notice it’s still low, repeat the same process but add an extra layer of block. Once you are sure of the level, you can put the wheel chocks on each tire to prevent it from running or making any tire movement.
Alternatively, you can use leveling jacks that serve as a wheel chock but still put an extra chock to stop it from moving. As soon as you notice that your camper is leveled, remove it from the tow vehicle.
Use your tongue jack to make the camper box uniform by observing the bubble level indicator, and then lock the tongue jack in place into place. It’s time to reach for the roof, and while raising the roof, flip out the extensions.
Remember not to drop the stabilizing jack until you have removed the roof; that’s because raising the roof means putting heavy pressure on the jack. Set the roof down after you have lowered the stabilizing jack. When you have secured the stabilizing jack in place, take a closer view and make sure all angles click; then, you open up the door of the camper. There shouldn’t be any twisting or pressure if you have leveled every angle.
As with other RVs, be sure that your tongue jack and wheel chocks are in place before you set up your campground.
Leveling your teardrop camper is pretty easy; you need to keep turning until it reaches a side-to-side level.
Make use of a wood leveler to give your RV extra hold so you don’t have to roll out your jack stand too much, thereby putting unnecessary pressure on it.
If you notice that the rotation method isn’t giving you the results you hope for, correct this by rolling your RV forward using a wood leveling block to raise the tire and then moving the teardrop onto the block.
Easy peasy, right?
Alternatively, you can use a leveling jack that doubles as a wheel chock. If you are still uncomfortable with the movement inside your teardrop, there’s the option to prevent it further by using two stabilizing jacks after you have done the leveling process.
One simple thing to never forget when leveling off-road travel trailers is always to keep your tow vehicle attached to the camper because you may need to keep driving it from side to side while leveling.
Invest in an electric tongue jack, or you can manually level it using an electric drill with an adapter.
Black Series Campers are one of the leading manufacturers of off-road travel trailers, pop up campers, and toy haulers. If you are looking for your next adventure trailer or want an expert consultation, feel free to call us at (833)822-6737 or send us a message.
When going on an adventure with your travel trailer, you need to understand that leveling your RV is something that’s a must, and when you get the hang of it, it even makes your adventures more interesting.
To answer your question, to level your RV is not in any way hard if you follow our guide. We get that you may even be too afraid to try, but would you rather go through the hassle of sleeping in an uncomfortable manner or even having your refrigerator malfunction?
The techniques we have listed are enough to assist you.
Camping is obviously more enjoyable when you have a level RV. Remember, it becomes simple with time, and with the right equipment, you’ll realize there are indeed memories to be created.
To ensure the durability of your RV, you need to always keep it in good condition, and that’s definitely a full-time job *wink*
Explore the Black Series lineup
Ready for the trail? See the Black Series off-road trailers for sale — and browse the full lineup.
Related reading:
Keep going: Black Series guides hub